📌 AUDIENCE: Executives, legal representatives, and company delegates
This guide explains Seqino's business onboarding journey.
It is intended for the executive, legal representative, or any person authorized to complete this journey on behalf of the company.
This is a journey hosted by Seqino: your application creates a verification session, shares the onboarding link with the end client, who completes the journey online. Statuses are updated on Seqino's side and returned to your application.
In just a few minutes, online, the client:
- provides their company's information
- declares its executives and beneficial owners
- designates the contact person and signatory
- gives their consent
- then uploads the requested identity documents in a verification portal.
GOOD TO KNOW: The client's progress is saved automatically: they can leave and resume at any time.
| Term | Definition |
|---|---|
| KYB | Company identity verification (Know Your Business). |
| Beneficial Owner (UBO) | A natural person who owns or controls the company. |
| Legal representative | A person authorized to legally represent the company. |
| Signatory | A person authorized to sign on behalf of the company. |
| Power of delegation | Authority granted to a third party via a power of attorney; a legal representative's signature may then be required. |
| Consent | Authorization to proceed with verification, in accordance with regulatory obligations. |
| Verification session | An onboarding instance created for a company, uniquely identified. |
| Verification portal | The space where individuals' identity documents are uploaded and tracked. |
Lifecycle of a KYB/KYC verification session.
- Create a session for the company via the API.
- Share the onboarding link returned with the end client (by email, in your interface, etc.).
- The client completes the hosted journey (see "The client-side journey").
- Retrieve the result: via webhook notification and/or by querying the session status.
The client's progress is saved automatically: they can leave and resume via the link received by email or the original onboarding link.
The journey can be completed by multiple people (the "Share access" feature of the portal).
What to prepare before starting:
- The company's registration number (SIREN / SIRET), or its exact name.
- The company's details: address, legal form, intra-community VAT number.
- The identity of the executives and beneficial owners (the people who own or control the company).
- A valid ID document for each person to be verified: national identity card, passport, or residence permit, not expired.
- About 5 minutes for the questionnaire and document upload.
Resuming later: At any time, you can click "Save for later". To resume, use the link received by email or the original onboarding link that was shared with you.
Support: If you run into difficulty, contact the Seqino support team.
The main steps:
The welcome screen announces five themes. In practice, the questionnaire runs through six short steps, tracked by your progress in a bar at the top of the screen. Once the questionnaire is submitted, the verification portal takes over for uploading identity documents.
| Step | What you do |
|---|---|
| 1. Welcome | You review the process and the time required. |
| 2. Identification | You find your company by name or registration number. |
| 3. Verification | You review and complete the company's information. |
| 4. Executives & UBO | You confirm the beneficial owners and legal representatives. |
| 5. Contact & signatory | You designate the contact person for the file and the person authorized to sign. |
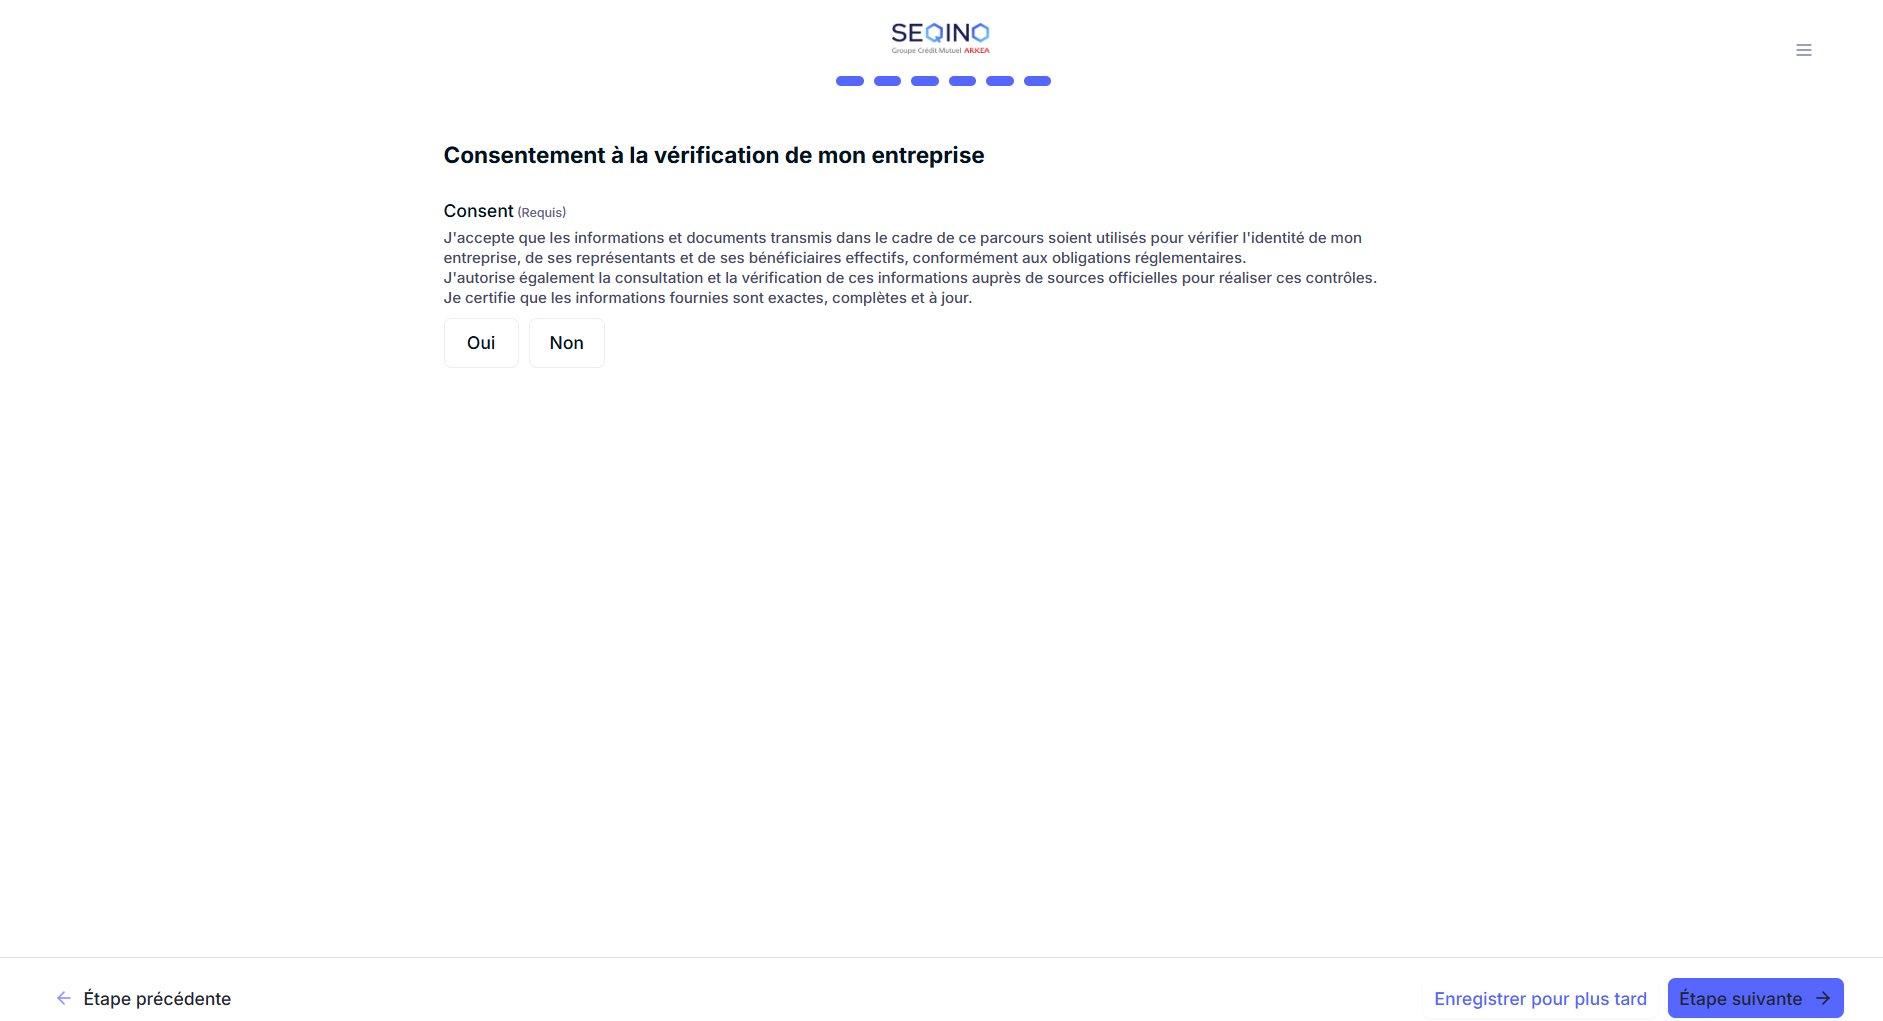
| 6. Consent | You authorize the verification of your company. |
| Verification portal | You upload the requested identity document for each person. |
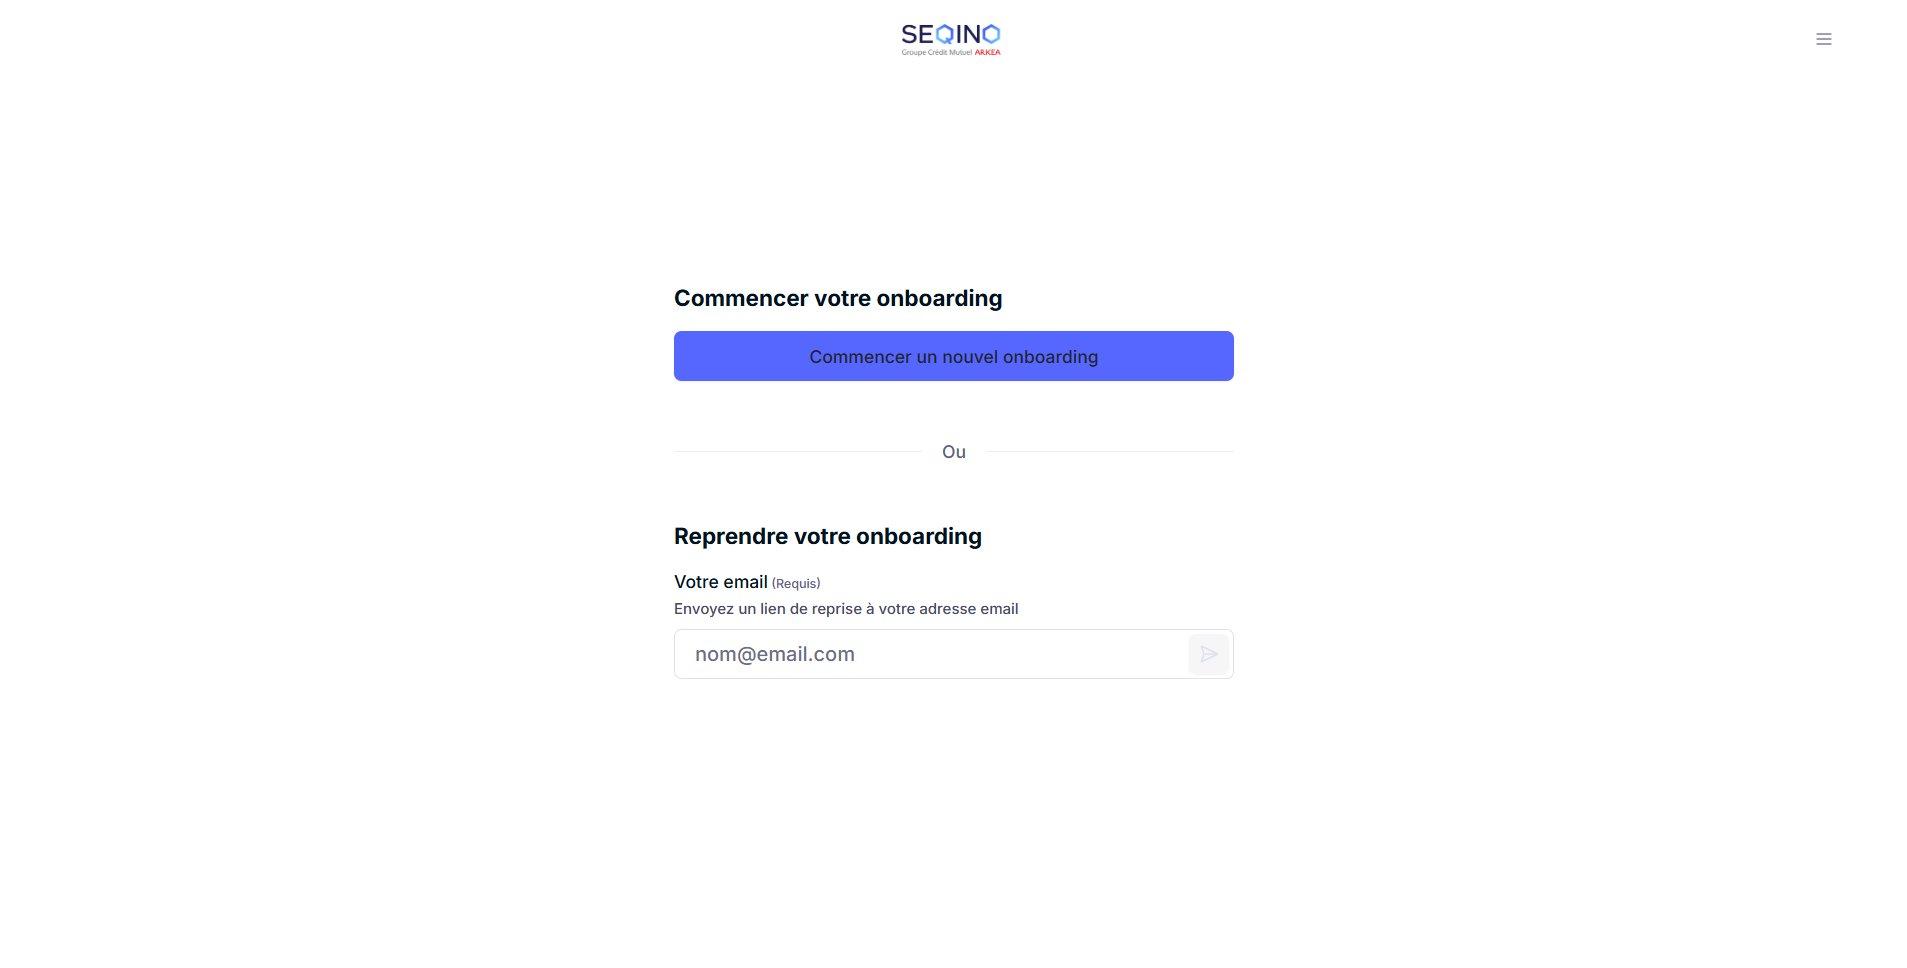
On the home screen, two choices: "Start a new onboarding" to begin, or "Resume your onboarding" by entering your email — a resume link is then sent to you.
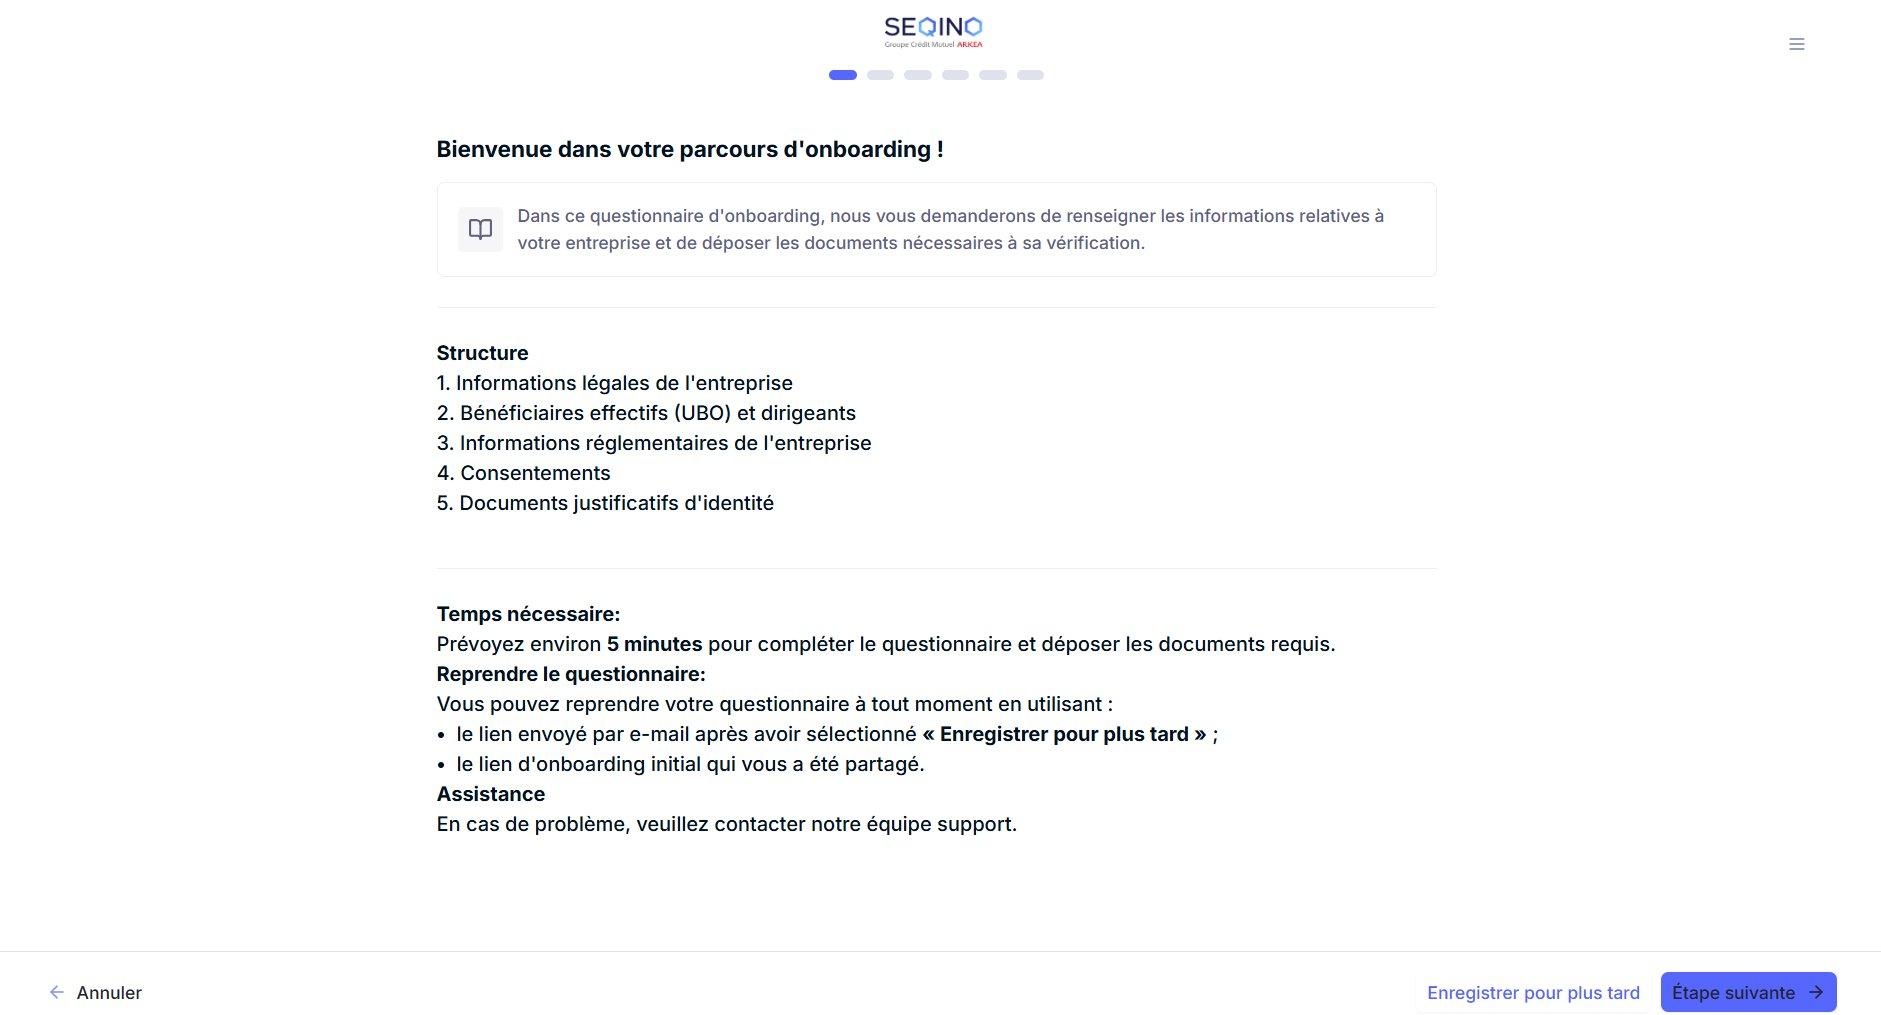
This screen presents the structure of the questionnaire (company legal information, beneficial owners and executives, regulatory information, consents, identity documents), the estimated time, and the option to resume later. Click "Next step" to continue.
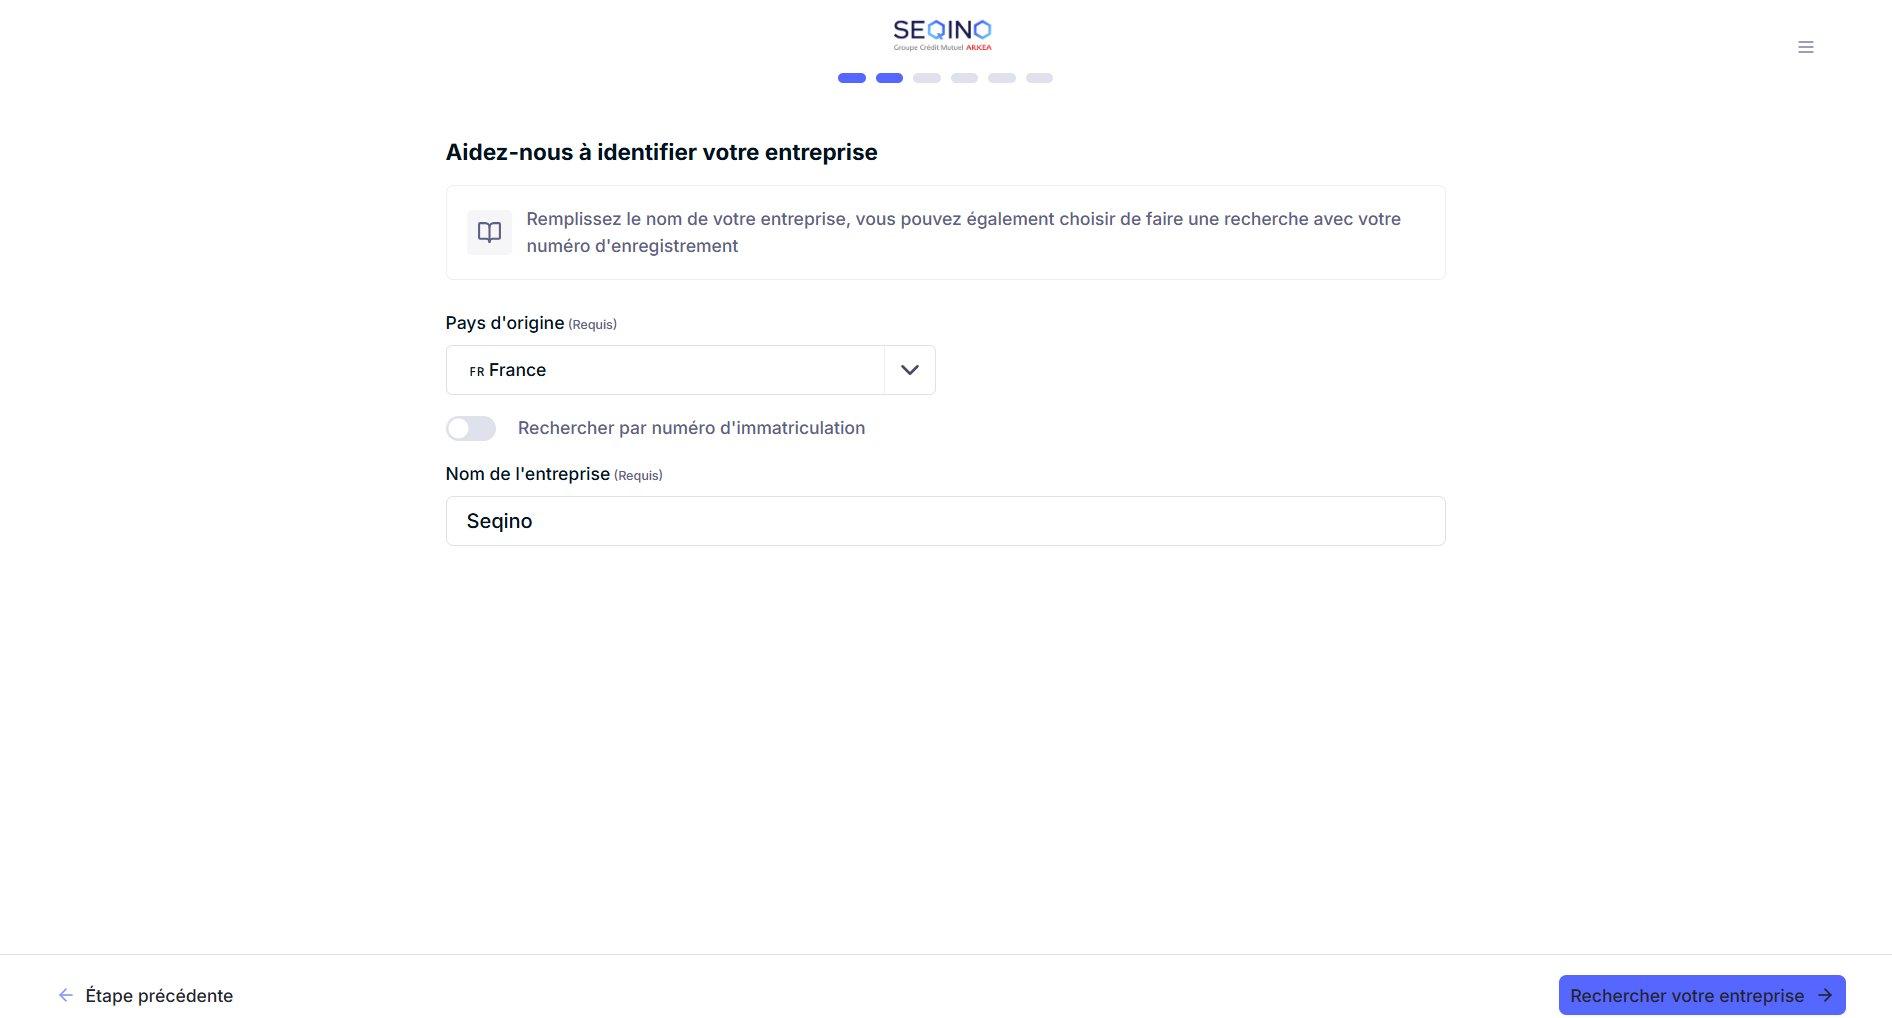
Select the country of origin, then enter the company name. You can also enable "Search by registration number" to search by SIREN/SIRET. Click "Search for your company".
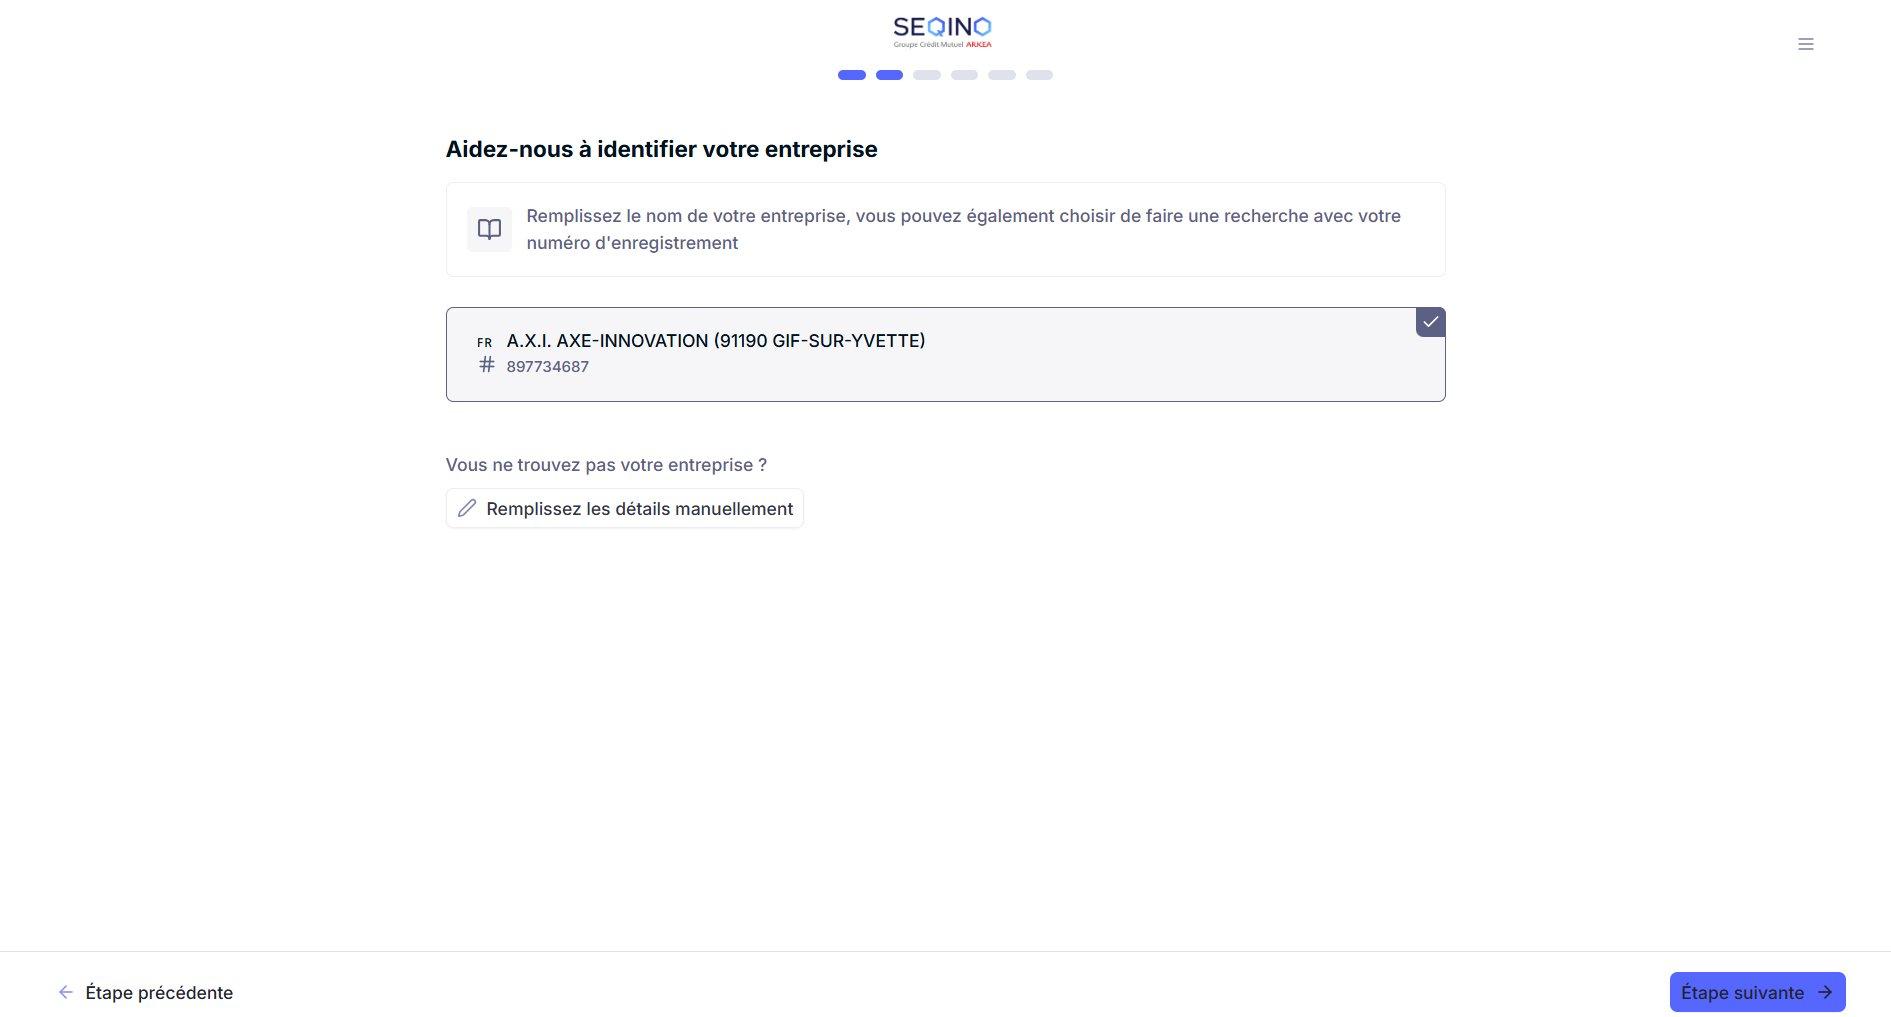
Select your company from the results list. If it doesn't appear, use "Fill in the details manually". Then click "Next step".
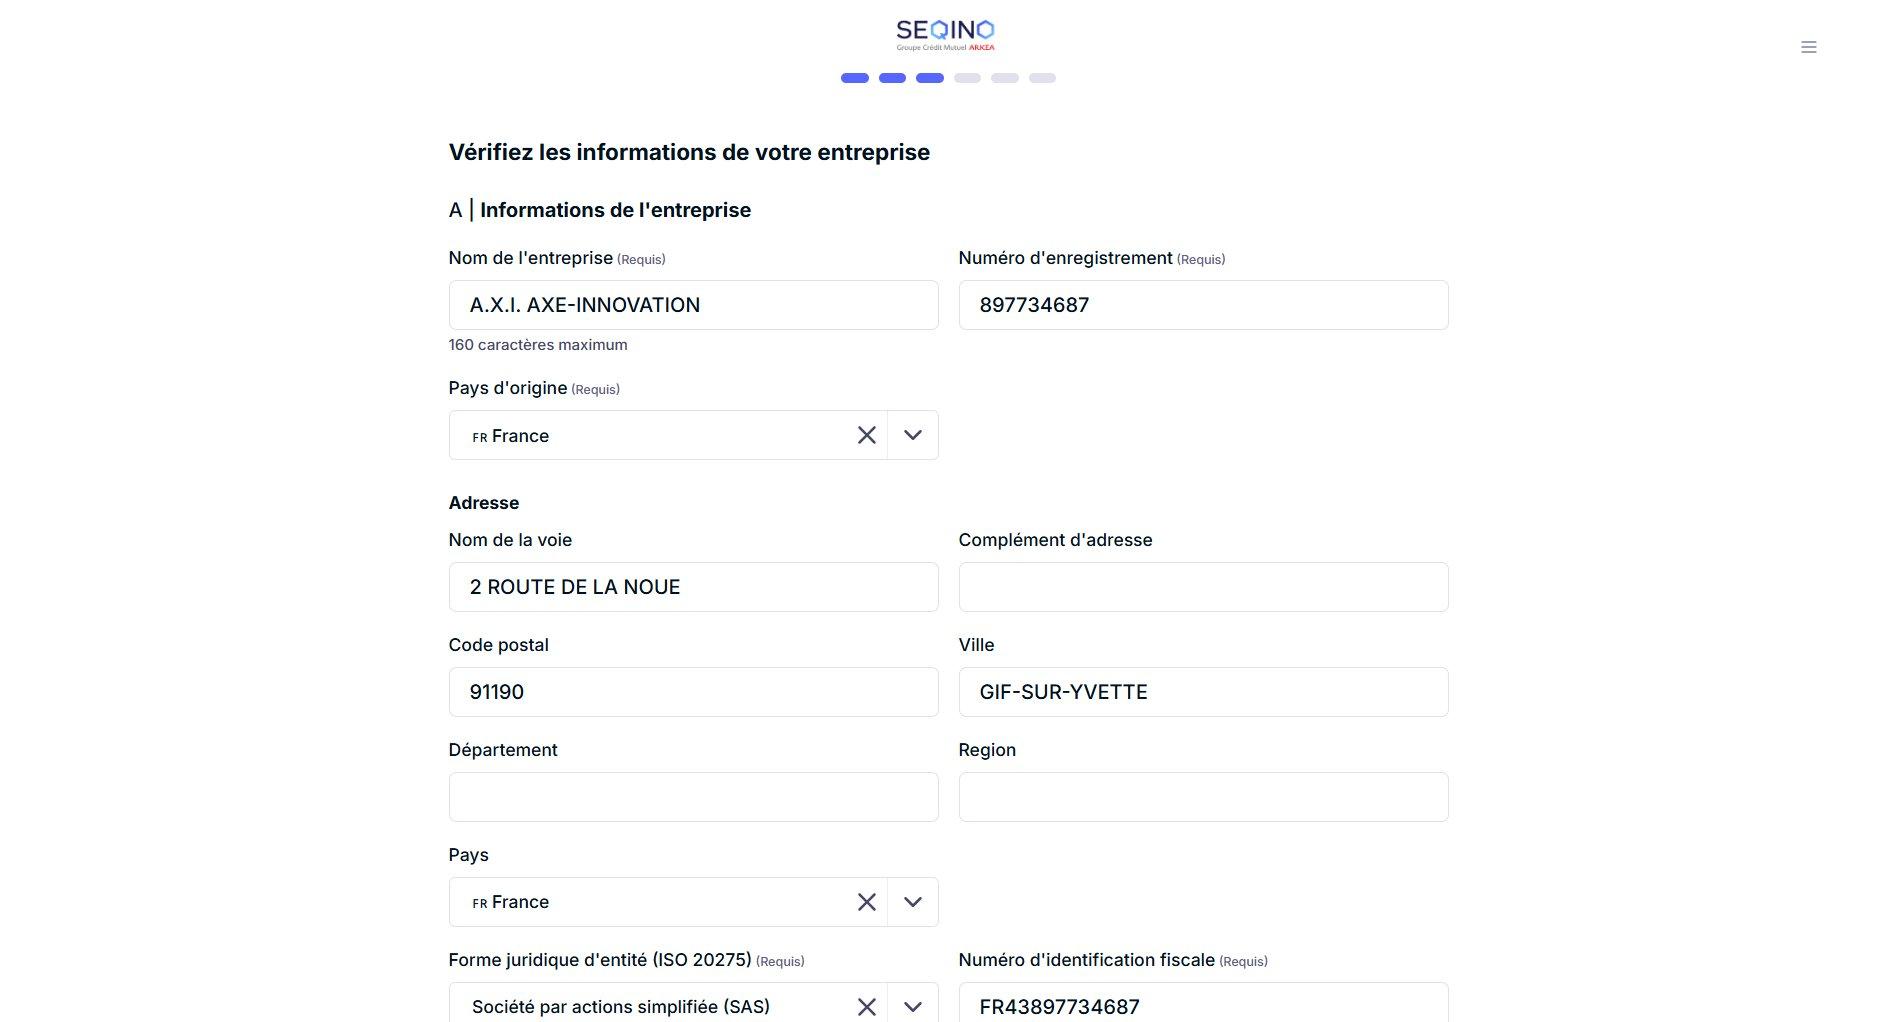
Known information is pre-filled: name, registration number, country, address, legal form (ISO 20275), and tax ID number. Review it, correct it if needed, and fill in any missing fields.
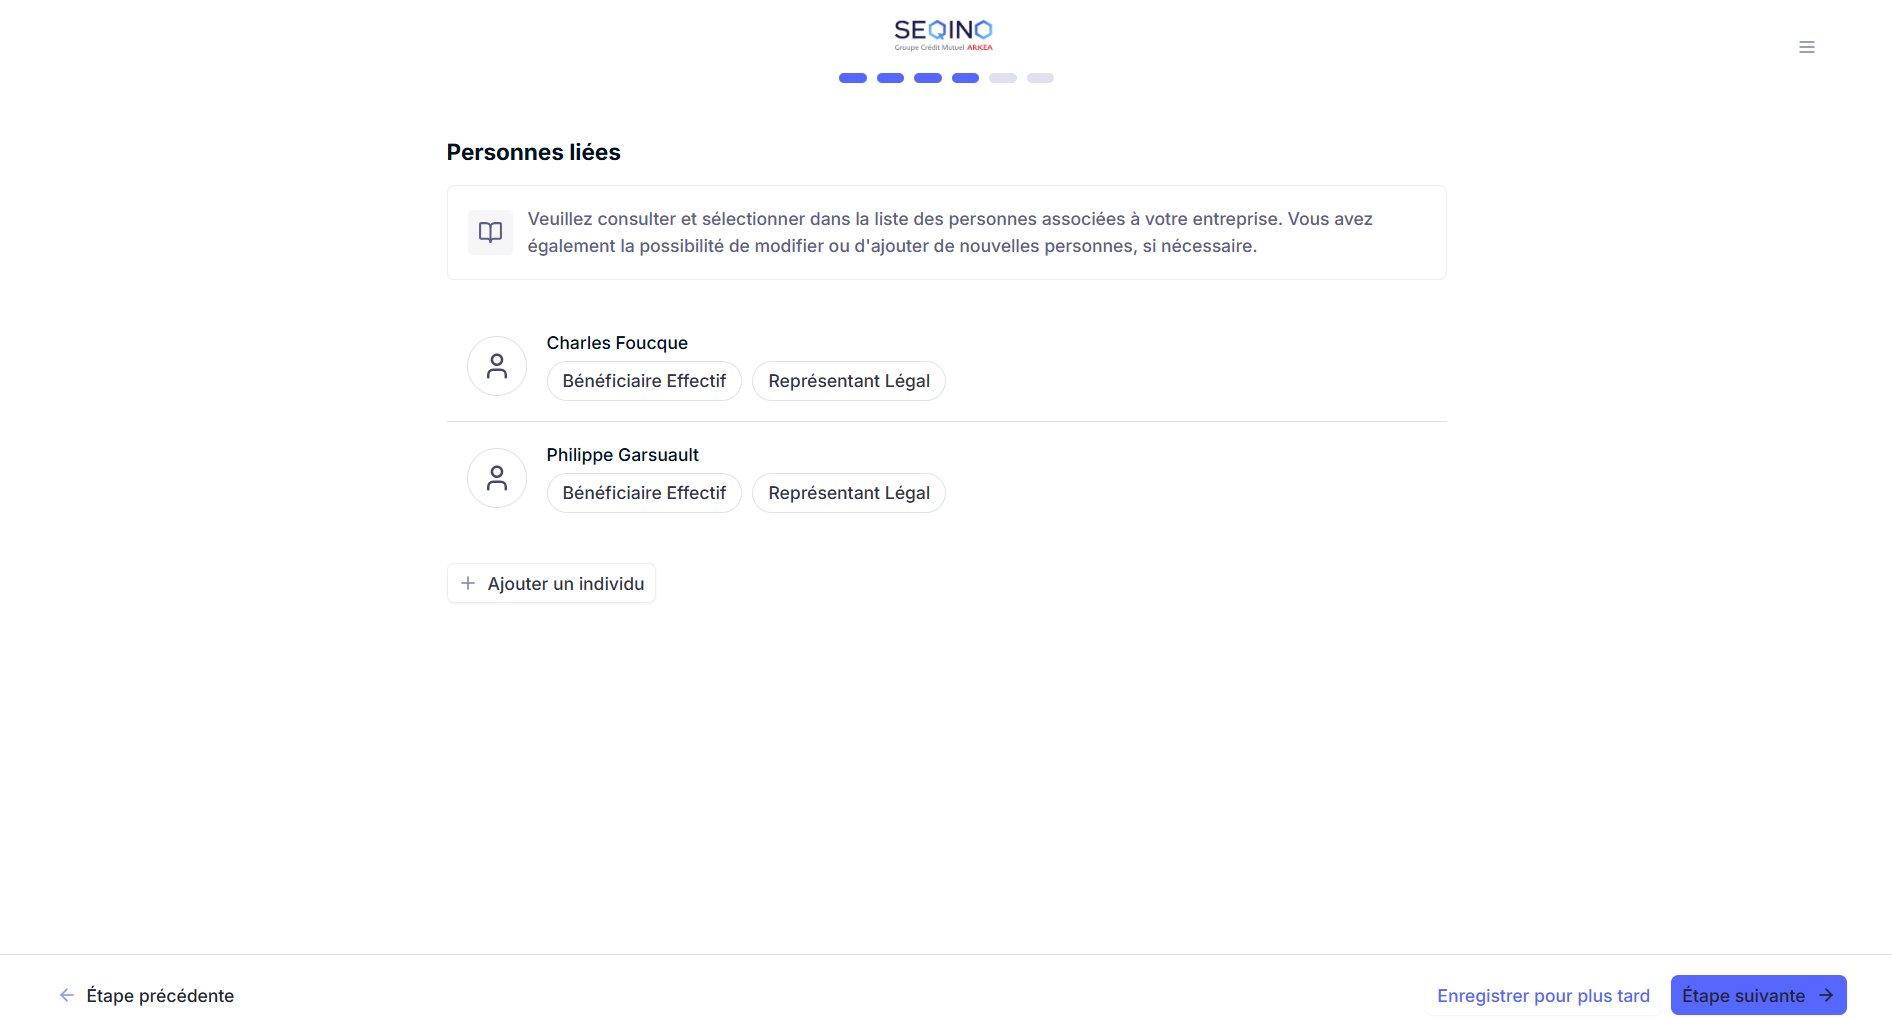
The "Related persons" screen lists the people associated with the company, along with their role: Beneficial Owner (a person who owns or controls the company) and/or Legal Representative. Review the list, edit it if necessary, or use "Add an individual" to add more.
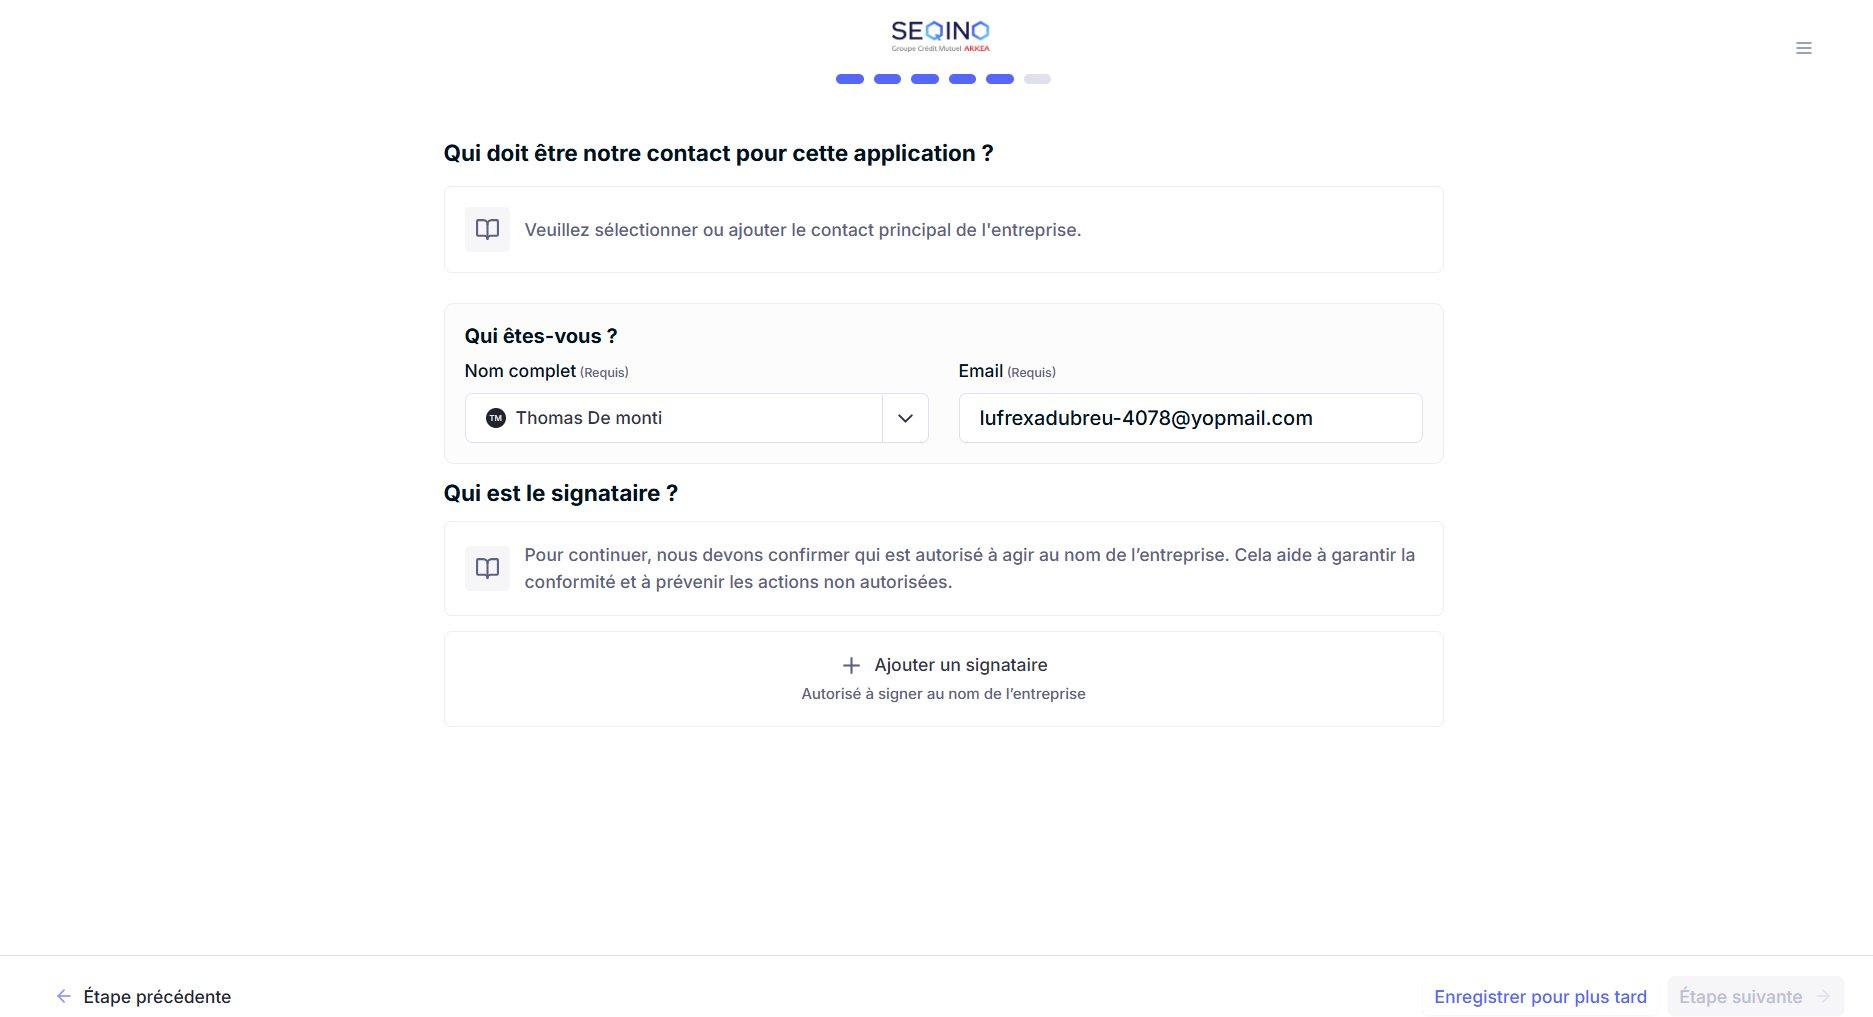
Provide the main contact for the file (your name and email), then designate the signatory, i.e., the person authorized to act on behalf of the company.
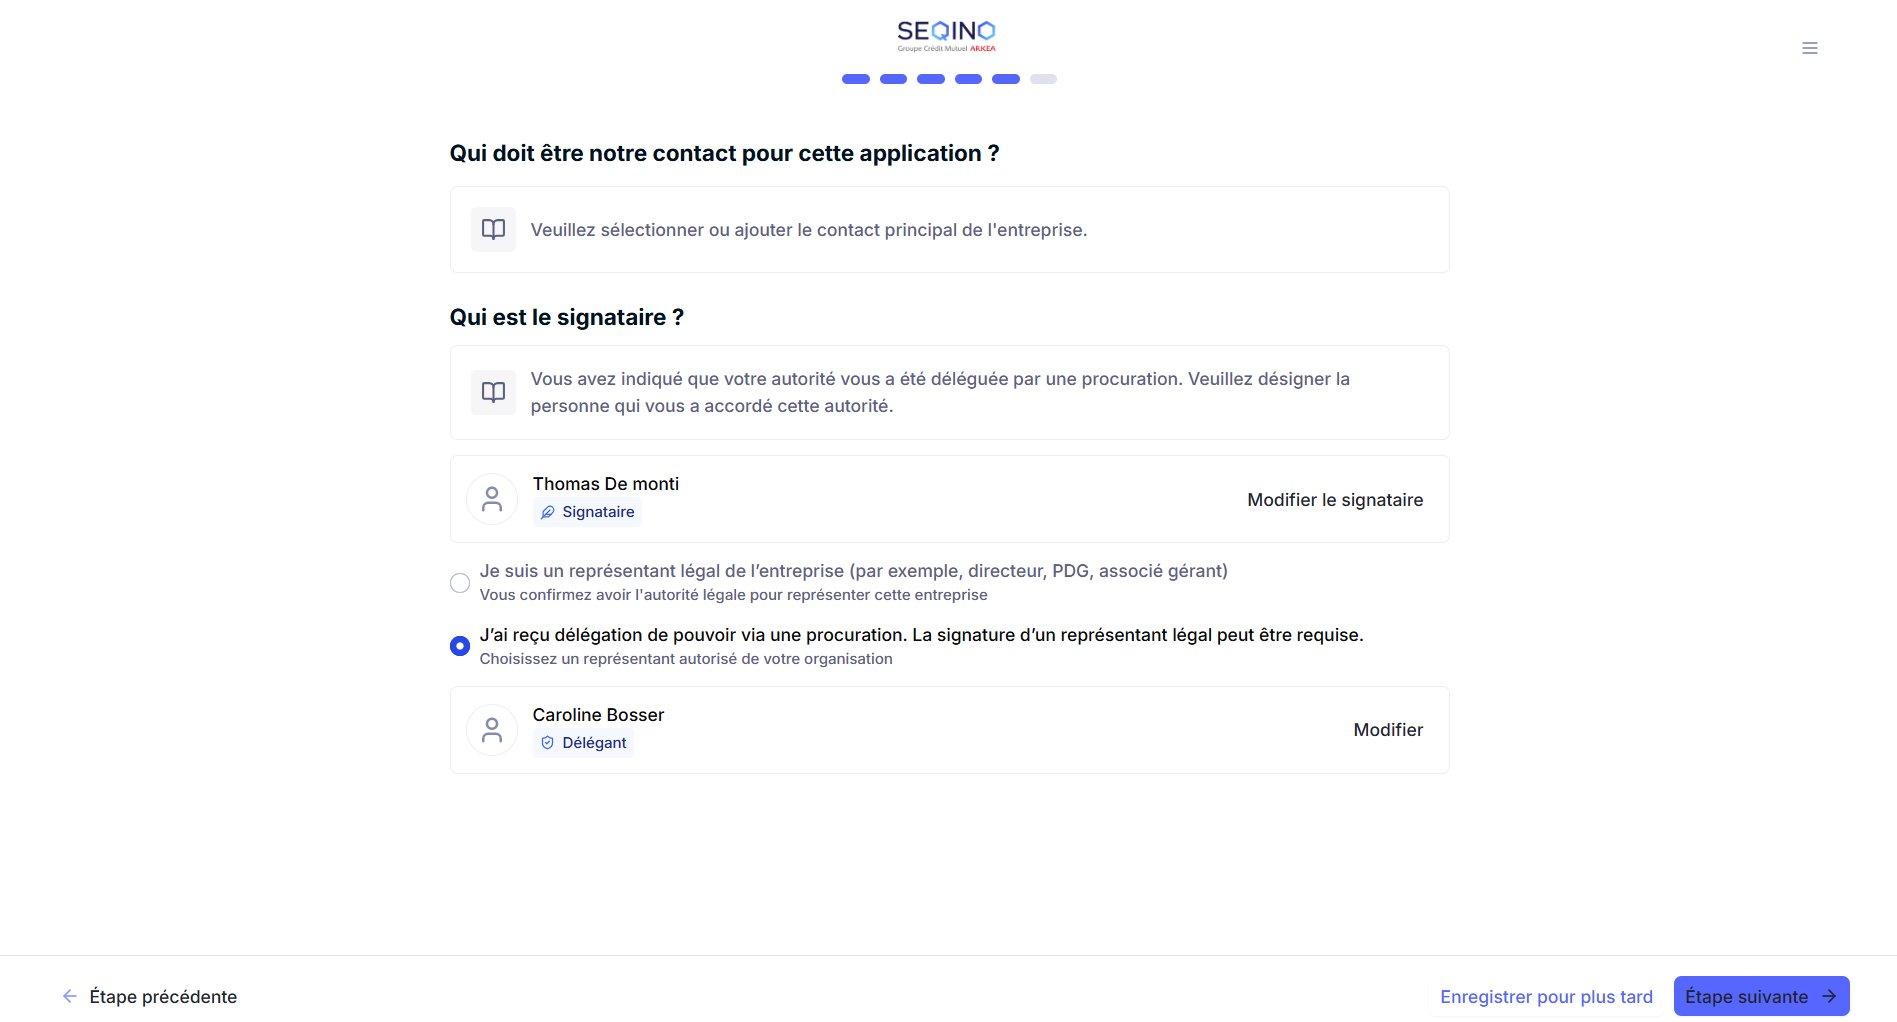
Two scenarios for the signatory:
- You are a legal representative (manager, director, CEO, managing partner…): you confirm that you have the authority to represent the company.
- You received a power of delegation via a power of attorney: you designate the person who granted it to you (the delegator). A legal representative's signature may then be required.
You authorize the use of the information provided to verify the identity of the company, its representatives, and its beneficial owners, and you certify that this information is accurate, complete, and up to date. Answer "Yes" to proceed.
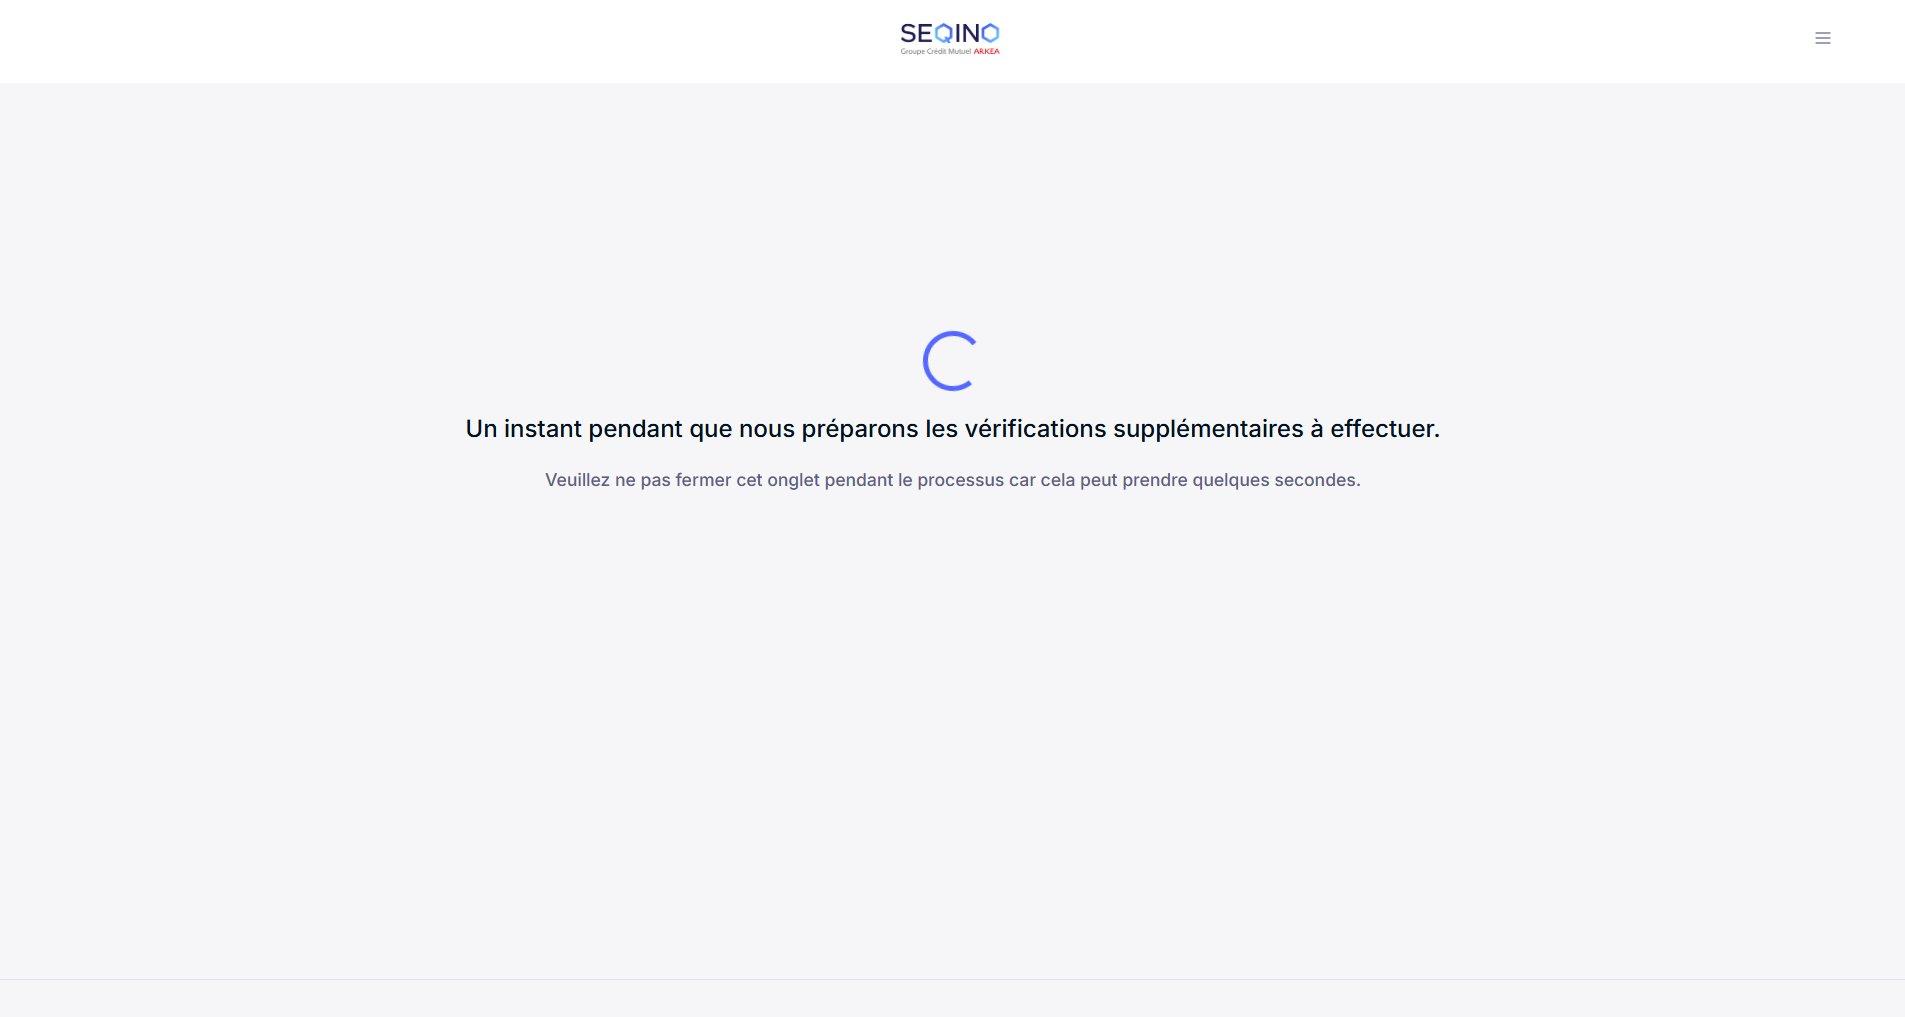
After consent, a brief loading screen prepares the additional verifications. Do not close the tab during this step, which only takes a few seconds.
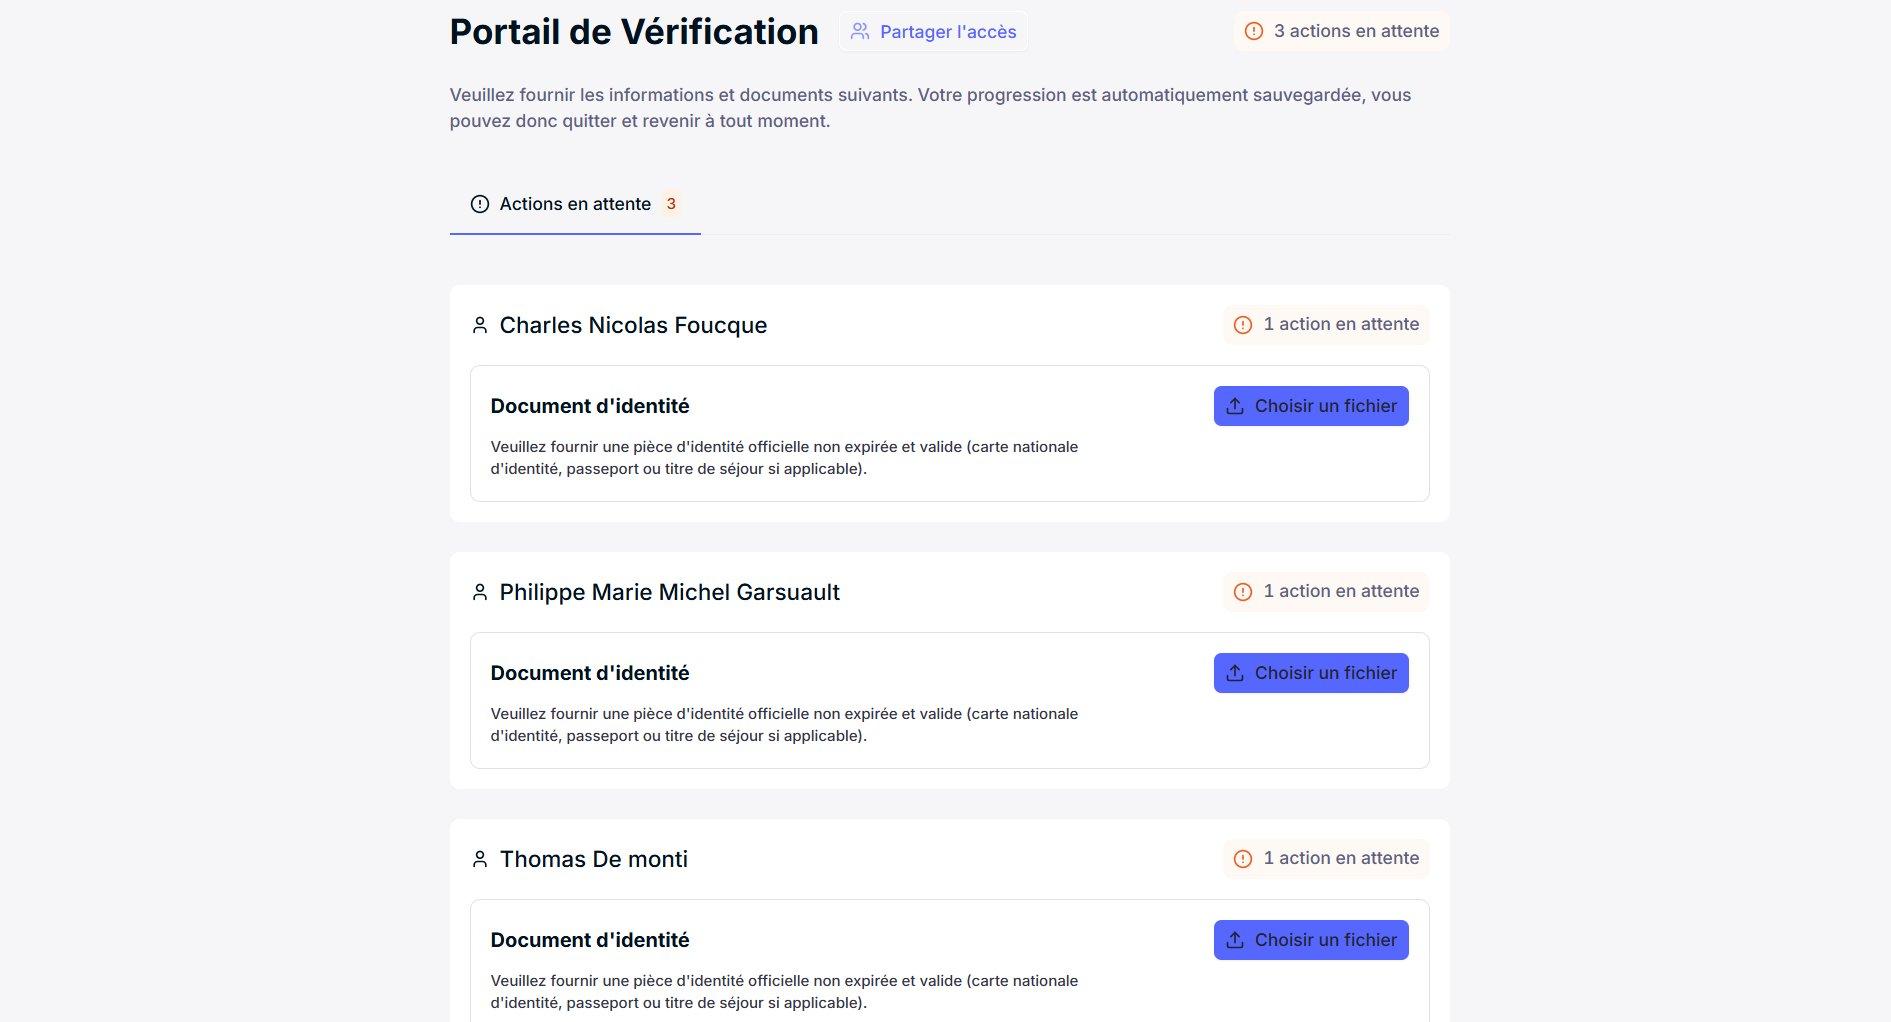
Once the questionnaire is submitted, you arrive at the Verification Portal. It groups together, person by person, the pending actions — mainly uploading an identity document. Progress is also saved here, and access can be shared via "Share access".
The portal displays the total number of pending actions and, under each person, the document(s) to be provided. Click "Choose a file" to upload the requested document.
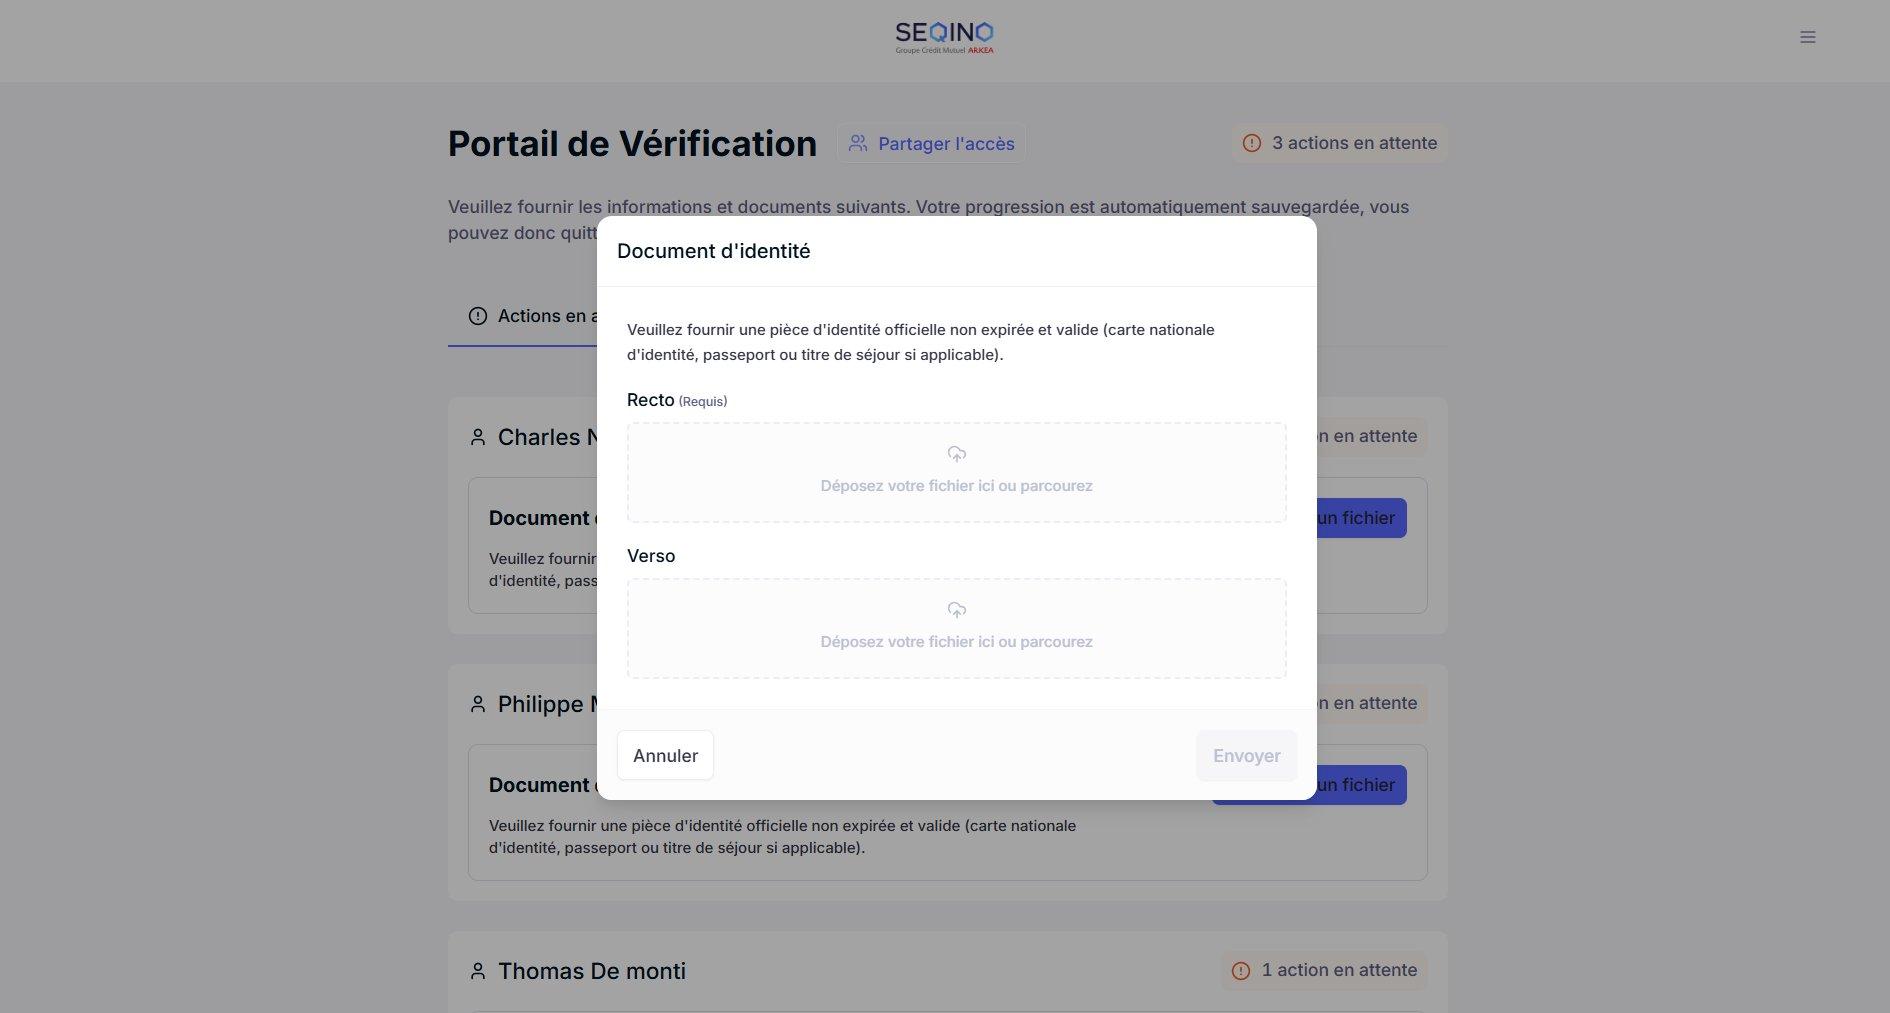
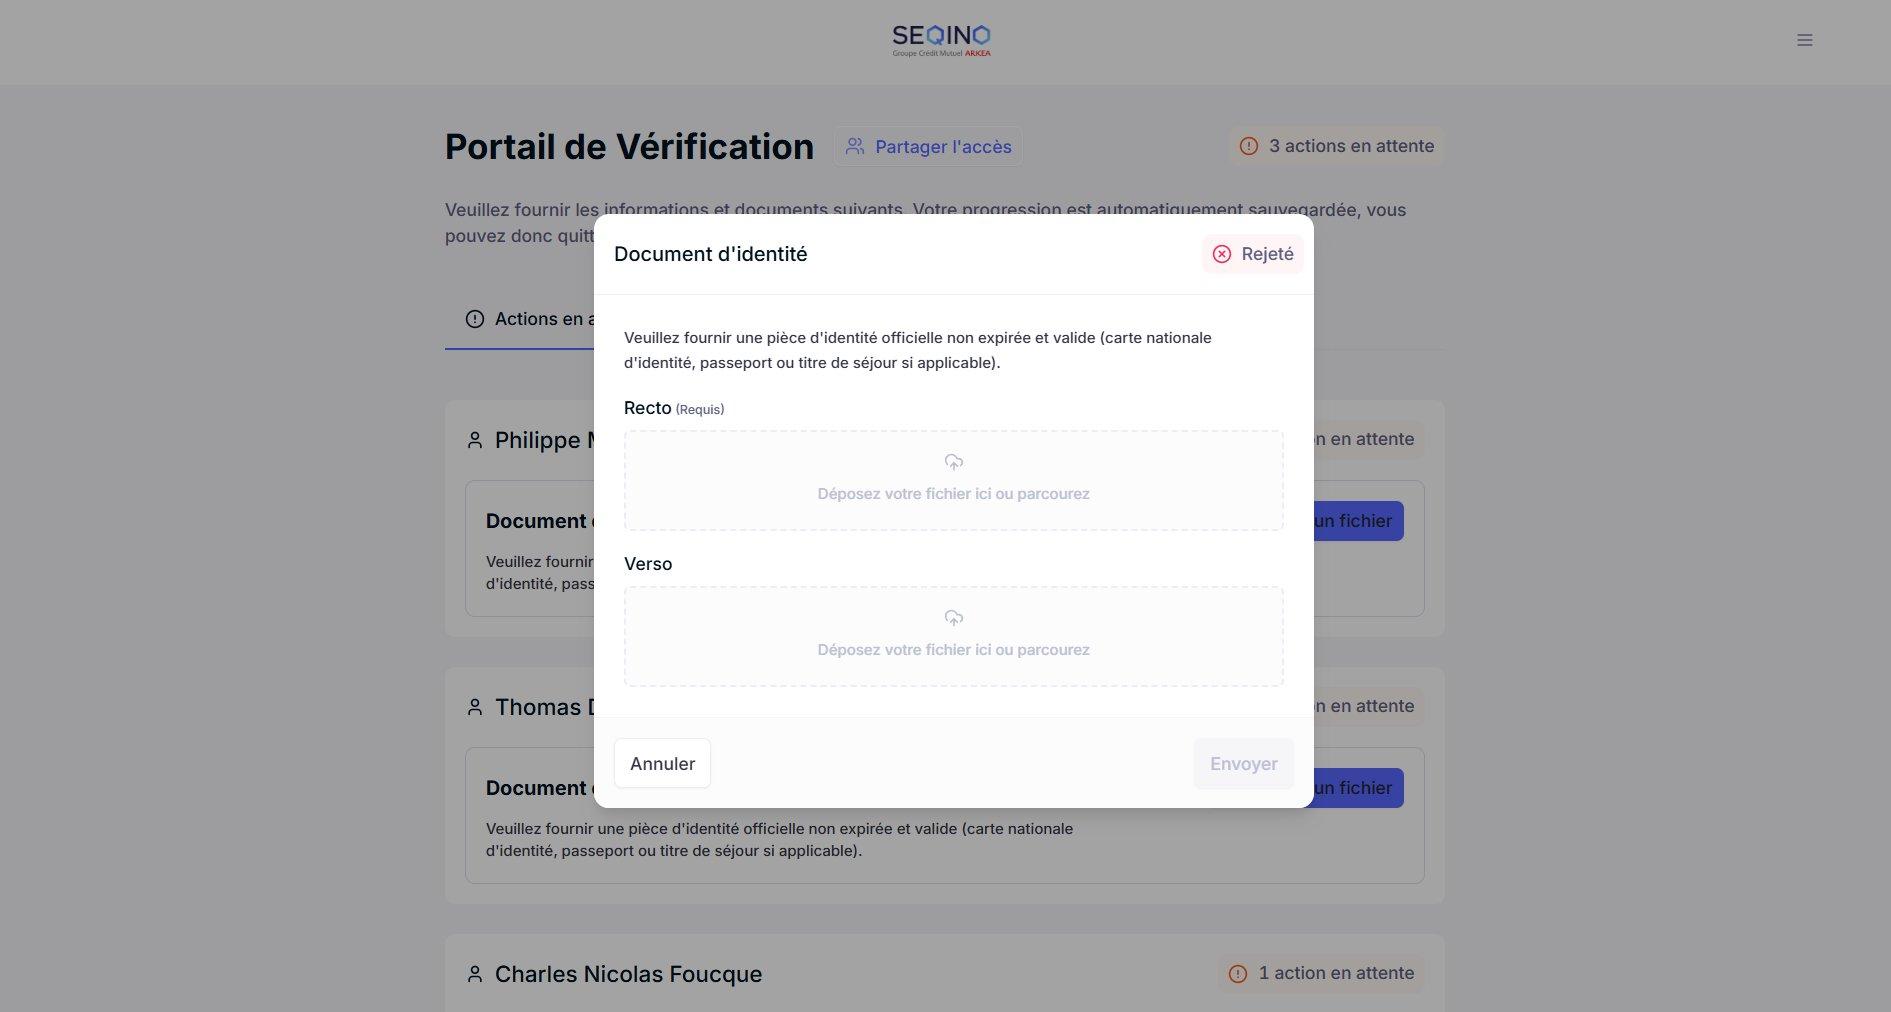
A window opens for the upload. Provide an official, valid, and unexpired identity document (national ID card, passport, or residence permit). Upload the front (required) and, if applicable, the back, then click "Submit".
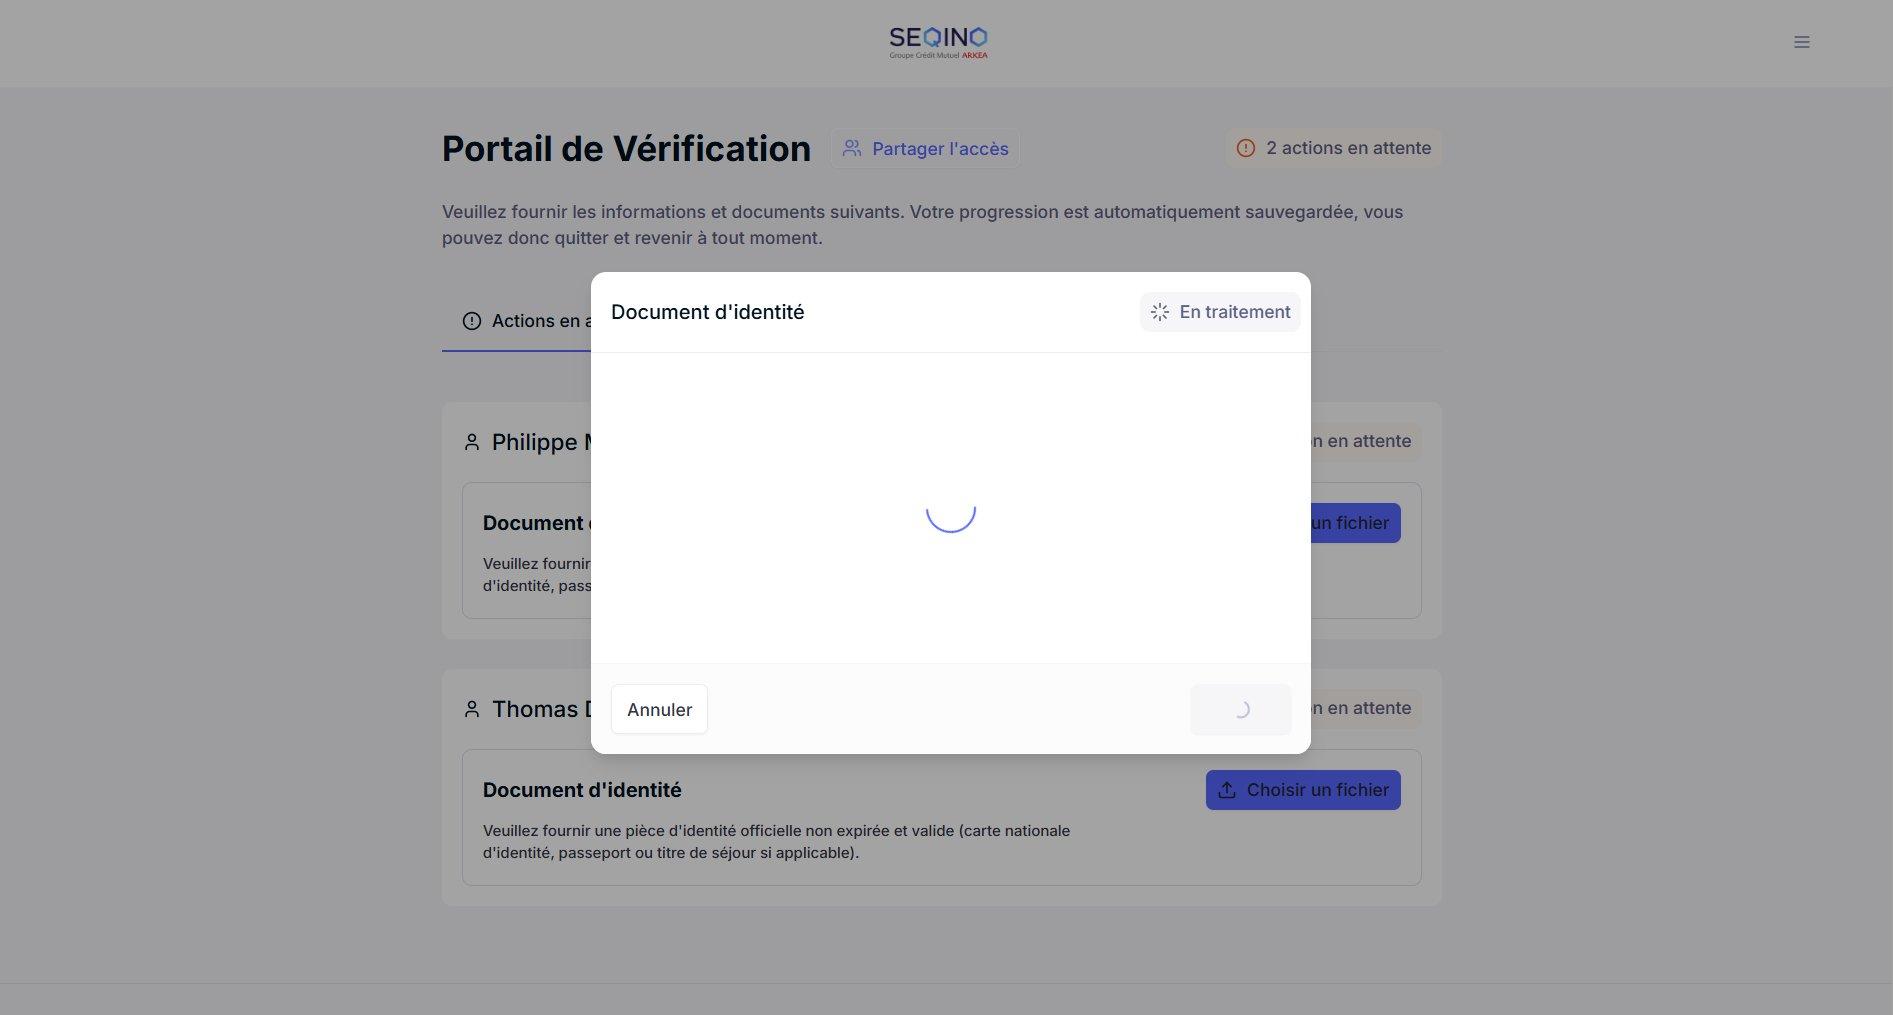
After submission, the document status changes to "Processing": it is being automatically analyzed. Please wait a moment during this verification.
If a document is "Rejected" (illegible, expired, or non-compliant), the action reverts to pending. Upload a valid document again by following the same procedure until it is approved.
| Status | Meaning | Your action |
|---|---|---|
| Pending | The document has not yet been uploaded. | Upload the requested file. |
| Processing | The document is being verified. | Please wait a moment. |
| Rejected | The document is non-compliant or illegible. | Upload a valid document again. |
| Approved | The document has been accepted. | No action required. |
- Do not store identity documents on the publisher's side: the hosted journey and portal handle this.
- Handle the Rejected status in your interface: prompt the client to re-upload a valid document until it is approved.
- Keep the
onboarding_url: it allows the client to resume an interrupted journey.
Can I pause and resume later? Yes. Your progress is saved automatically. Resume via the link received by email or the original onboarding link.
Can someone else complete the journey? Yes, by sharing access via the "Share access" button in the verification portal.
What identity documents are accepted? A national identity card, passport, or residence permit, currently valid (not expired).
Why was my document rejected? Most often: the document is expired, illegible, incomplete (front missing), or non-compliant. Upload a valid, legible document.
I need help. Contact the Seqino support team, who can assist you with your process.